When it comes to preserving the hard work you've put into building and painting your scale models, applying a clear...

Cart 0 Product Products (empty)
No products
Free shipping! Shipping
£ 0.00 Total
Product successfully added to your shopping cart
Quantity
Total
There are 0 items in your cart. There is 1 item in your cart.
Total products (tax incl.)
Total shipping (tax excl.) Free shipping!
Total (tax incl.)
Search Tips
Tips categories
Latest Tips
-
 When and how to apply clear coats to protect your scale modelsRead more
 -
 How do I simulate paint chips on plastic models?Read more
Occasionally modellers will have a requirement to weather a model to indicate heavy use and time-based wear and tear....
-
 What advantages does Analogue have over DCC?Read more
There are several advantages that analogue control has over DCC (Digital Command Control) in the context of model...
-
 What is a wash?Read more
Washes are highly diluted paints used to bring out the detail in your model and enhance the appearance of the base...
-
 How can I prevent my layout becoming a dust trap when not in use?Read more
One of the perennial problems of being a modeller is that our models or layouts sometimes become very efficient dust...

What is the most effective way to create a section of tunnel in the landscape on my layout?
Creating a section of tunnel in the landscape can add significant depth and interest to a layout. Here are some steps to help create an effective tunnel section:
- Plan the location and size of the tunnel: Before beginning to build the tunnel, the modeller should decide where the tunnel is to be located and how big it will need to be. This will help determine the materials and the amount of space needed for the tunnel.
- Build the tunnel shell: The first step in building a tunnel is to create the shell. This can be done using a variety of materials, including foam board, plaster, wood or flexible tubing. If using foam board or plaster, the modeller can shape the material to the desired configuration and size using a craft knife or saw. Likewise, if using wood, the modeller will need to cut and assemble the pieces to create the tunnel shell. Flexible tubing such as ducting hose can also be very useful as it offers size and flexibility in shaping whilst retaining significant rigidity and strength.
- Add texture and detail: Once the tunnel shell is in place, the modeller can then add the appropriate details to both the interior and the exterior. This can be achieved using a variety of materials, such as balsa wood, rocks, or even paper mache. The selected materials are then glued in place to create the desired texture and appearance. In some instances, the installation of the track can be left to last to prevent inadvertent damage during the tunnel assembly stage. This is generally possible in shorter tunnel sections but in longer sections, the track may have to be laid down prior to assembly for ease of access.
- Finish the tunnel entrance and exit: To complete the tunnel, the modeller will need to create entrances and exits. this can be achieved by cutting openings in the landscape or by building portals from materials such as foam board or wood or using appropriate tunnel portal kits. When building a tunnel on a layout, it is important to pay attention to the scale and details to ensure that the tunnel looks realistic and fits in with the surrounding scenery. With the right materials and a bit of patience, a modeller can easily create an effective and eye-catching tunnel section for their layout.
Posted in: Scenery
Click here to receive the tips weekly in your mailbox. You can unsubscribe at any time.
Related products
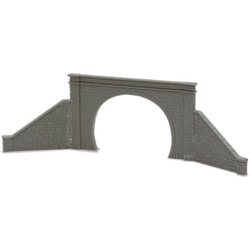
2 Tunnel Mouths and 4 Retaining Walls Double Track
Price: £ 9.40Pair of Tunnel Mouths and 4 Retaining Walls -Double Track N Gauge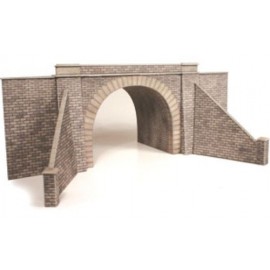
Double Track Tunnel Entrance - Set of two
Price: £ 13.00A cardboard kit of two double-track tunnel portals. Requires assembly and...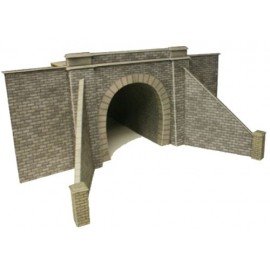
Single Track Tunnel Entrance - Set of two
Price: £ 12.00A cardboard kit of two single-track tunnel portals with stone effect....
Related posts
-
 Is static grass better than scatter?I use both, separately and together. Static grass comes in various sizes from 0.5mm to 12mm while scatter is...
 - How do I apply static grass?Static grass is best applied using a static grass applicator. There are several on the market and they can apply...
- What colour are tree trunks?Tree trunks are actually grey in colour and not brown as you would think. The next time you are out and about just...
- How to make hills?You can make hills in a variety of ways. The tried and tested way is with chicken wire and papier mache. This is a...
- How do I glue scatter?Select the area where you want the scatter, then apply a layer of PVA glue, sprinkle your grass covering the glue....