The EM1s (Class 76 under the TOPS system) were a British design of Bo-Bo electric locomotive with a maximum speed of...

Cart 0 Product Products (empty)
No products
Free shipping! Shipping
£ 0.00 Total
Product successfully added to your shopping cart
Quantity
Total
There are 0 items in your cart. There is 1 item in your cart.
Total products (tax incl.)
Total shipping (tax excl.) Free shipping!
Total (tax incl.)
Search Tips
Tips categories
Latest Tips
-
 What is an EM1 locomotive?Read more
 -
 What is a facing point lock in railways?Read more
Facing point locks are commonly used throughout the world's rail systems, their function is to physically lock points...
-
 What is a reversing loop?Read more
A reversing loop is a railway track that splits at a turnout, the diverging track then makes its way around in a big...
-
 What are BEMO couplings?Read more
BEMO couplings refer to a specific type of coupling used to connect rolling stock on narrow gauge model railway...
-
 What is the difference between Point-to-point and Continuous run?Read more
Point-to-point and Continuous-run are terms used to describe two different options for layout designs. Layout...

Do I need to apply a gloss surface to my models before applying decals?
In simple terms, no, a gloss surface is not always needed for the application of decals but this is not a straightforward question to answer. As a general rule modellers have applied decals on gloss surfaces for two reasons. Firstly, a gloss surface is smooth and has less friction thus making it easier to move the decal during precise positioning. Secondly, a gloss surface can make it easier to blend the decals carrier film into the surface which could otherwise leave a tell-tale sheen against the background paintwork.
Many modellers will cut decals to prepare them for application to the model, this can help remove excess and unwanted carrier film and make the decal easier to move and position. However, there is a compromise as the carrier film backing provides the decal with strength and surface tension. Thus removing too much carrier film can significantly weaken the decal's strength making it unworkable.
Additionally, in order to soften and shape decals many setting fluids contain strong chemicals including solvents. Used without caution, these can attack the underlying varnish and paint layers thus noticeably spoiling the finish.
Manufacturers are aware of this problem and are seeking to address it. Some manufacturers now produce solutions that allow decals to be applied straight onto the painted finish without a need for a varnish. One such solution is 'Decal Set & Soften' by Vantage Modelling Solutions (VMS). As the name suggests this is a 2 in 1 solution that includes both a fixing and setting solution. The location for the decal receives a small amount of solution applied by a paintbrush before the decal is applied. This allows the decal to adhere to the surface. Light pressure can be applied by a cloth or cotton bud which helps to remove excess air bubbles and help blend the carrier film onto the surface. The liquid applied will also aid in the softening of the decal allowing it to effectively shape itself to the surface contours for that 'Painted on' effect.
Once the decals are in place then any excess solution can be removed by a cotton bud or neutralised by water applied from a paintbrush. The solution should be allowed to cure for 24 hours as this will allow the softening process to fully shape the decal to the surface. Once this is complete, the model can then be varnished as required to help protect the painted surface and also help lock in the decal to the surface finish whilst removing any excess shine from the carrier film.
Posted in: Decals / Transfers
Click here to receive the tips weekly in your mailbox. You can unsubscribe at any time.
Related products
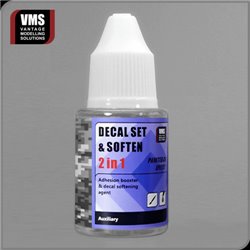
Decal Set & Soften 2 in 1 30 ml
Price: £ 7.10Decal Set & Soften 2 in 1 30 ml Decals need two things: an adhesive which...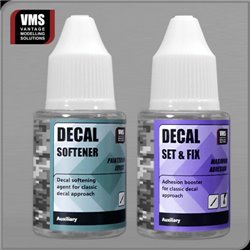
Decal Set & Soften Bundle - 2 x 30ml
Price: £ 8.10Decal Set & Soften Bundle - 2 x 30ml This classic solution includes two...
Micro Sol for softening decals
Price: £ 6.00Micro Sol is used for softening decals/transfers so they conform better to...
Related posts
-
 Do I need to varnish after applying a decal?The simple answer is yes, it is advisable to varnish your decal, for a couple of reasons One being that if the model...
 - How do I apply decals to irregular surfaces?This is not as difficult as you would think. Normally you would dip your transfer in warm water to help remove it...
- How do I use Micro sol and Micro set with waterslide decals (transfers)?When you are at the final stages of making your model, apply a coat of gloss varnish this will give a nice smooth...
- Do I need to varnish before applying a decal?It is a good idea to give your model a coat of gloss varnish before applying decals as this helps with the gluing...
- Can you just varnish where you intend to place the decals?It is best to varnish the whole model. By coating the whole model in varnish, you are guaranteed a uniform finish...