Bogie Sulphate Wagons were, at the time, famed for being the largest open wagons of their type, but their demise was...

Cart 0 Product Products (empty)
No products
Free shipping! Shipping
£ 0.00 Total
Product successfully added to your shopping cart
Quantity
Total
There are 0 items in your cart. There is 1 item in your cart.
Total products (tax incl.)
Total shipping (tax excl.) Free shipping!
Total (tax incl.)
Search Tips
Tips categories
Latest Tips
-
 What is a bogie sulphate wagon?Read more
 -
 What is the best way to glue a cardboard building kit?Read more
The best way to glue a cardboard kit like Metcalfe or Superquick is to read and follow the instructions that are...
-
 How do I get started with weathering a plane?Read more
Weathering a plane is a fantastic way to add realism and character to your aircraft. It involves replicating the...
-
 What is the HOm scale?Read more
The HOm scale is a popular narrow-gauge modelling scale used by enthusiasts to represent railways that are smaller...
-
 What kind of solder should I use on white metal kits?Read more
If you are soldering a white-metal kit together, you will need to use a lower temperature setting on your soldering...

How to install a Dapol powered semaphore junction signal?
The installation of signals on a layout is always an exciting part of the build, but it can be a little daunting if you want to install powered-signals and don't have a lot of experience working with electrics. But don't worry, it is really easy to do and the instructions included with Dapol's powered semaphore junction signals make the whole experience child's play!
In the pack, you will be supplied with the signal, a black box containing the servo-motor and two switches. Your first step will be to drill a 15mm hole through your baseboard where you want the signal to be located. Next, feed the signal's post through the hole and secure it from underneath with the included nut, then click the black box onto the bottom of the signal post (which is now underneath your baseboard), you are now ready for the wiring.
There are several wires to connect on the junction signal, the wires are all colour coded and the instructions are very clear: all you have to do is connect two wires to a power source of between 9V and 12V DC or 14V AC. Next, you connect the two switched to the black box (again following the instructions) and that's it, you're ready to go.
This gives you an idea of how easy it is to connect a powered signal to an analogue (DC) layout. Connecting one to DCC is almost as easy, the only difference being that you will be required to fit a DCC servo signal controller, but that's just one extra step and once again Dapol include very user-friendly instructions to help you along the way.
We would like to say that powered signals add extra realism and interest to a layout, and that may be true, but the truth is they are just so much more fun to play with, so don't be afraid to give them a go!
Click here to receive the tips weekly in your mailbox. You can unsubscribe at any time.
Related products
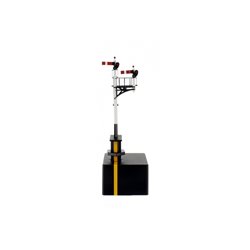
Junction Signal Gwr Right Hand With Two Arms,...
Price: £ 75.00Junction Signal Gwr Right Hand With Two Arms, Shorter Post To Right Dapols...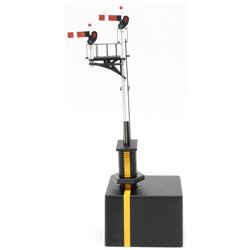
GWR Junction left hand Short Post Signal - 2 arms
Price: £ 75.00GWR Junction left hand Short Post Signal - 2 arms Dapols junction semaphore...
Related posts
-
 What scale is Hornby?Hornby model railways are OO Scale or 1/76th that is 4 millimetres to the foot (12 inches). It runs on a track with...
 - How to weight my model so it does not tip?For wargaming figures, a small coin or washer glued to the under side of the base will usually to do the job. This...
- Is Bachmann compatible with Hornby?Yes, any OO scale loco, wagon or coach will work on any OO scale track, regardless of brand. Couplings are also...
- What are the model railway eras?According to Bachmann, as it states in their catalogue there are 9 eras. As they say in their catalogue this is not...
- Can a "DCC ready" train be used on analogue?Yes, you can use a DCC ready train on your analogue layout. DCC ready just means that the train has been factory...