Mainline Railways was a British model railway brand that operated between 1976 and 1983, introduced by Palitoy, the...
No products
Product successfully added to your shopping cart
There are 0 items in your cart. There is 1 item in your cart.
Search Tips
Easter shipping
Please note that couriers are not collecting on Friday 18th and Monday 21st April.
Orders will be dispatched on Tuesday 22nd April
How do you create snow on a layout?
Creating a snowy scene on your layout is unfortunately not as simple as scattering some scenic snow on your tracks. As with most aspects of modelling, a study of the prototype is crucial if you are to create a convincing scene.
Firstly, consideration should be given to the amount of snow that is imagined to have fallen on your scene, questions should also be asked about whether the snow has just fallen or whether it has been lying there for a day or two. These questions will have an impact on what kind of snow you use and the amount that should be placed.
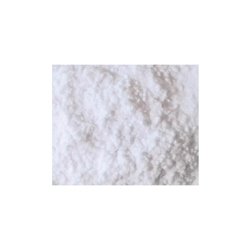
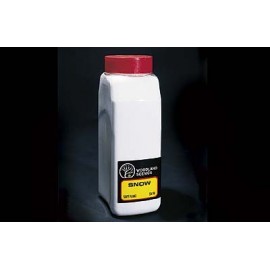
When snow is falling in the real world, its effects on the landscape take on a life-cycle. At the onset of a snow shower a light dusting will cover most of what it lands on, but not equally due to temperature variations on the surface on which it lands. This inevitably leads to partially covered ground and rooftops especially if there is a breeze as the snow is falling. Another thing to note during the primary stages of snowfall is that the contours of the landscape whether it be trees, fences or railway infrastructure will still display a crisp silhouette as enough snow has not yet fallen to alter their shape. To create this 'dusting' effect a very fine scatter snow is your best bet such as Peco's 0.5mm snow scatter or Deluxe's Snowflakes.
After the snow has been falling for a while shapes do start to blur a little as the snow starts to accumulate, a few drifts may even begin to appear in exposed places. For this effect, it is best to use bulkier snow such as Deluxe's shovelled snow or Peco's 2mm snow. If the snow is being modelled as fresh snowfall then a final light layer of the previously mentioned fine snow sprinkled on top will help to smooth out the bulk and give it that untouched look. Although a heavy snow effect looks fantastic on Christmas cards, you should think very carefully before applying it to a diorama, this is because a lot of your layout's detail will be smoothed away or lost and the scene could become quite boring after a while.
The final stage of snowfall is after it has been lying for a day or two. In this instance, it will likely be a little frozen and it doesn't matter much whether you chose a light dusting or full-on Arctic Armageddon, what you want is a little bit of sparkle to represent the ice. This can be achieved by adding a little 'Icy sparkle' again by Deluxe.
Our top tip when creating a snowy scene is to start off light, you can always add more snow but removing it is not so easy. Another top tip is to remember to install some relevant cameo scenes, there are plenty available to enhance your project, for example, snow-covered cars, children sledging or even everyone's favourite, a snowman!
Click here to receive the tips weekly in your mailbox. You can unsubscribe at any time.


