It can be difficult to accurately estimate how many meters of OO track can be covered with a 250g bag of ballast, as...
No products
Product successfully added to your shopping cart
There are 0 items in your cart. There is 1 item in your cart.
Search Tips
How do I paint a white metal kit?
Painting a white metal kit involves pretty much the same processes as painting any model, or a real-life metal object for that matter.
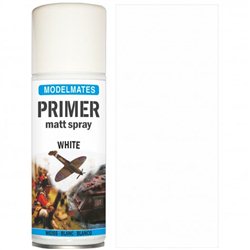
Firstly, the surface to be painted should be prepared, this is done by thoroughly cleaning the surface with a substance such as isopropyl alcohol or even soapy water. This is to remove any grease or dust from the surface and give the paint a fighting chance of a smooth and even application. Next, the surface should be painted with a suitable primer to give your paint something to stick to.
Once the prep work is completed you can set about painting your model. This can be done using acrylic or enamel paint and a matt or glossy finish can be achieved by using appropriate paints.
To give your finished model extra protection, you can apply one final coat of clear varnish to seal your paint in and keep your model looking fresh for years to come. Once again you can achieve a flat or glossy finish with the correct choice of lacquer.
Click here to receive the tips weekly in your mailbox. You can unsubscribe at any time.


