This would depend on what you are painting as paint brushes come in various shapes and sizes. I would say for...

Cart 0 Product Products (empty)
No products
Free shipping! Shipping
£ 0.00 Total
Product successfully added to your shopping cart
Quantity
Total
There are 0 items in your cart. There is 1 item in your cart.
Total products (tax incl.)
Total shipping (tax excl.) Free shipping!
Total (tax incl.)
Search Tips
Tips categories
Latest Tips
-
 What is the best size paintbrush?Read more
 -
 What are 5 and 7 plank wagons?Read more
5 and 7 plank wagons are a type of railway wagon design dating back to the early 1900s. They are a simple design of...
-
 How do I build up a smooth coat of paint with a can or airbrush?Read more
Spray cans and airbrushes are favoured tools with modellers because of the smooth and life-like finishes that they...
-
 What is the maximum voltage for OO scale and N gauge track?Read more
For an analogue system, the maximum voltage supported by the engines is about 12V. Most analogue controllers will...
-
 How to maintain a curve when joining flexible track?Read more
Joining sections of flexible track mid-curve can often result in small but annoying straight pieces of rail where two...

How to make your own trees
Trees are a big feature on most model railway layouts. There are some great ready to go trees from various manufacturers, depicting many different types and sizes of trees that work across all gauges. But did you know that you can also easily make trees yourself?
Making model trees is one of the easiest and likely one of the most successful bits of modelling that you can do. It helps that there is no such thing as a perfect tree for comparison, so every tree turns out unique, and so it should!
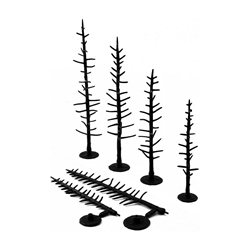
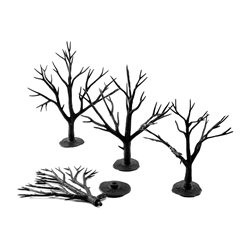
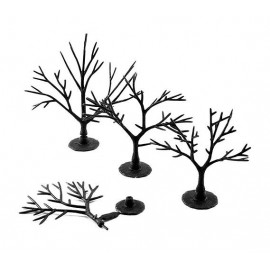
Start with the bare tree trunk and branches, even these can be modelled from scratch with bits of wire painted in a blend of browns and greys, but the easiest (and safest) way is to buy them ready-made. They are called tree armatures and they come in a wide variety of sizes and shapes.
Next, simply layer away. You can use clump foliage or lichen shaped and glued to the armatures to create the bulk of your tree's foliage. Try to study trees in your local area paying particular attention to how dense (or not as the case may be) the foliage is on both broadleaf trees as well as pines, willows and fruit trees, see how many different shades of green there are in the real-life leafy masterpieces. Doing this will no doubt help you to create a tree that doesn't resemble a lollypop!
Once you have created the rough shape that you want the tree's silhouette to project, it's time to get to work with the scatter. This will create the finer detail, shape and colour that will make your tree convincing.
You can't go wrong when making trees, you can always cut bits back, add more on, or change its shade and colour with scatter.
So why not give it a go, save some money and have some fun all at the same time!
Posted in: Scenery
Click here to receive the tips weekly in your mailbox. You can unsubscribe at any time.
Related products
Related posts
-
 Is static grass better than scatter?I use both, separately and together. Static grass comes in various sizes from 0.5mm to 12mm while scatter is...
 - How do I apply static grass?Static grass is best applied using a static grass applicator. There are several on the market and they can apply...
- What colour are tree trunks?Tree trunks are actually grey in colour and not brown as you would think. The next time you are out and about just...
- How to make hills?You can make hills in a variety of ways. The tried and tested way is with chicken wire and papier mache. This is a...
- How do I glue scatter?Select the area where you want the scatter, then apply a layer of PVA glue, sprinkle your grass covering the glue....