Felix Pole was an ambitious employee of the Great Western Railway. Born in 1877, by the age of 27 he was working in...
No products
Product successfully added to your shopping cart
There are 0 items in your cart. There is 1 item in your cart.
Search Tips
How to create realistic curves?
Curves are a bit of a headache for modellers. Some of us do away with them by modelling an end to end railway, others hide them away in tunnels or behind scenery whilst a few simply accept them as an unavoidable compromise.
The truth is that without an aircraft hangar to house your model railway, it is simply not possible to recreate accurately scaled railway curves on your layout as they would take up too much space on your baseboard.
However, you can easily give the impression of a realistic curve. This is done by using the same principles that railway engineers follow when creating actual bends on the real permanent way.
They use something called a transition curve: this is when a straight piece of track gently increases its radius as it goes into a curve and then gently decreases its radius as it comes out of the curve, this kind of curve is also known as a spiral curve.
This is necessary to avoid the train wheels being thrown abruptly into the outer rail causing ware and even damage to the track and wheel flanges, constructing curves in this way also gives the passengers a smoother ride.
Engineers follow strict equations to calculate how rapidly the radius of the curve increases taking into account criteria such as line speed and the type of trains that are likely to be operating on the line.
Applying transition curves to your model railway will go a long way towards hiding the steepness of the curves. The trains will look better too as they glide into a bend opposed to jerking from a straight to a set radius.
There is little need to hire an engineer to work out the intensity of spiral on your transition curve as this will probably be dictated to you by the amount of space you have. Attention does need to be given however to the apex of the curve. This can often end up being a tighter radius than intended. Ironically this is due to the very visual effect that you are trying to create. A top tip to avoid this situation is to use a single piece of set track for the middle section of the bend, you can then use flexible track either side to create the transitioning sections.
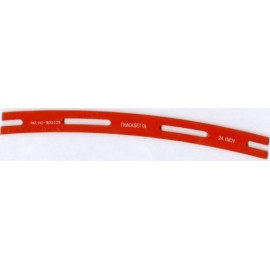
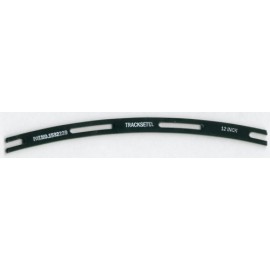
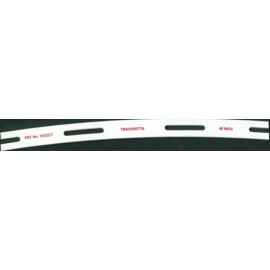
If you wish to create a bend beyond the available radius of set track or simply want to use flexible track for the whole bend, then there is a tool available to help you control the radius of your bends during track laying. It is called a Tracksetta. It is a little metal guide that slots between the rails of your flexible track guaranteeing a smooth and accurate finish to your curve. They come in many different radii and are available for HO/OO gauge and N gauge.
Click here to receive the tips weekly in your mailbox. You can unsubscribe at any time.


