It can be difficult to accurately estimate how many meters of OO track can be covered with a 250g bag of ballast, as...
No products
Product successfully added to your shopping cart
There are 0 items in your cart. There is 1 item in your cart.
Search Tips
How do you design a track plan?
There are several different ways to design a track plan for your model railway project. There is no right or wrong way but thought should be given to which way is best for you and which way suits your skills set the best.
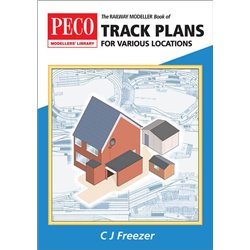
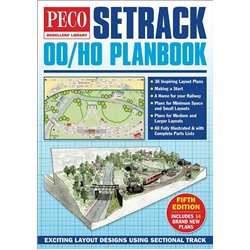
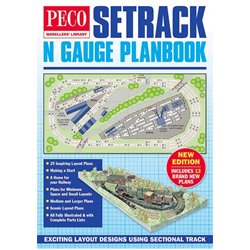
The easiest way to achieve a track plan is to use a published one. There are numerous publications out there covering all sorts of different types of layout and catering for just about every shape and size of room. The advantages of these are the assurance that it will work and the knowledge of what track and point work you will need to build the layout. The disadvantage is that for most, a layout is a comforting trip down memory lane or an opportunity to flex the imagination. Whichever is true you will probably have a mental picture of at least the essence that you want your railway to portray, with a published track plan you will be integrating someone else’s imagination into your layout and potentially missing out on some of the fun and satisfaction that you are hoping to experience.
Another way to design a track plan is to model an actual real-life scene. This will involve research. You will need to visit the location to be modelled or at the very least acquire as many photos as possible to give you a fighting chance of getting it right. It would also be well worth spending a couple of hours on the internet looking for track plans of the location in question. If the section of track is still in use today then Google maps can also be a valuable source for information.
Chances are that you will significantly underestimate the amount of space you will need to successfully model your scene. It is worth remembering that a quarter-mile section of track will need over 5 metres of baseboard to recreate in 00 gauge so it is important to keep your expectations realistic when modelling a real-life cameo.
The third way to develop a track plan is the most exciting, and probably the way in which most modellers first conceive their vision of the railway they want to create, and it is as simple as drawing your imagination on a scrap of paper. This stage of the process is magical because for that moment, on that piece of paper anything is possible, flyovers, long sweeping bends, 9 platform stations, thousands of pounds worth of track, points and buildings, engine sheds, goods yards, the whole nine yards. Of course, this will not be achievable in your 8ft x 6ft spare room, but who cares! The inspiration you will take away from the exercise will be most useful when you finally start to look at what you can do with the space available. Simply taking your very favourite bits of the design will likely give you enough of a realistic plan to fill your baseboard.
There are a few things to bear in mind when transforming a freehand sketch into real track work on a layout. Don't forget to allow for scenery. The overwhelming temptation will be to fill your available space with track, track and a bit more track. In theory, it makes sense to utilise your space with as much railway as possible, the reality will be your layout looking like one giant fiddle yard and that would not be very interesting or rewarding. Keep your track plan simple and your point work practical. A layout full of points will result in failed or derailed trains as will bends that are too tight for the locomotives that you will be operating.
Once you have decided on your track plan, it’s time to see if you will like it once it’s realised. Just as you would watch a trailer before seeing the movie, there is a way that you can get a glimpse of your layouts finished effect and this is important because once construction begins it is going to be a long time before your project starts to look anything like the layout you conceived. Even once your track is down and you have a station, your railway will still look flat and that’s because it is, literally, only once your layout starts to become 3D with hills, fences, retaining walls, streets, buildings, signals and tunnels etc will your layout start to look like a layout, and that will take a long time to achieve.
Our top tip to help you realise just how brilliant your railway will be when it is finished (which it never will be because there is always something to add, but you get the point) is to arrange your tracks loosely on your baseboard roughly where they will be pinned and glued down. Then take some boxes of varying sizes and place them on the baseboard to represent buildings and anything else 3D that you intend to place in your railway scene. Take some photos for reference if you like, you will immediately be able to see what works and what doesn’t.
Don’t forget that your track plan is fluid. If you want to change your mind about any aspect of it then you can, it’s just pen and ink at this stage. It is much better to correct any mistakes or dissatisfaction now rather than after you have invested time and money and if like many of us do, you need a little bit of inspiration, you can always turn to railway modelling magazines. There’s always plenty of layouts featured, and if you are like us then you will want them all!
Click here to receive the tips weekly in your mailbox. You can unsubscribe at any time.


